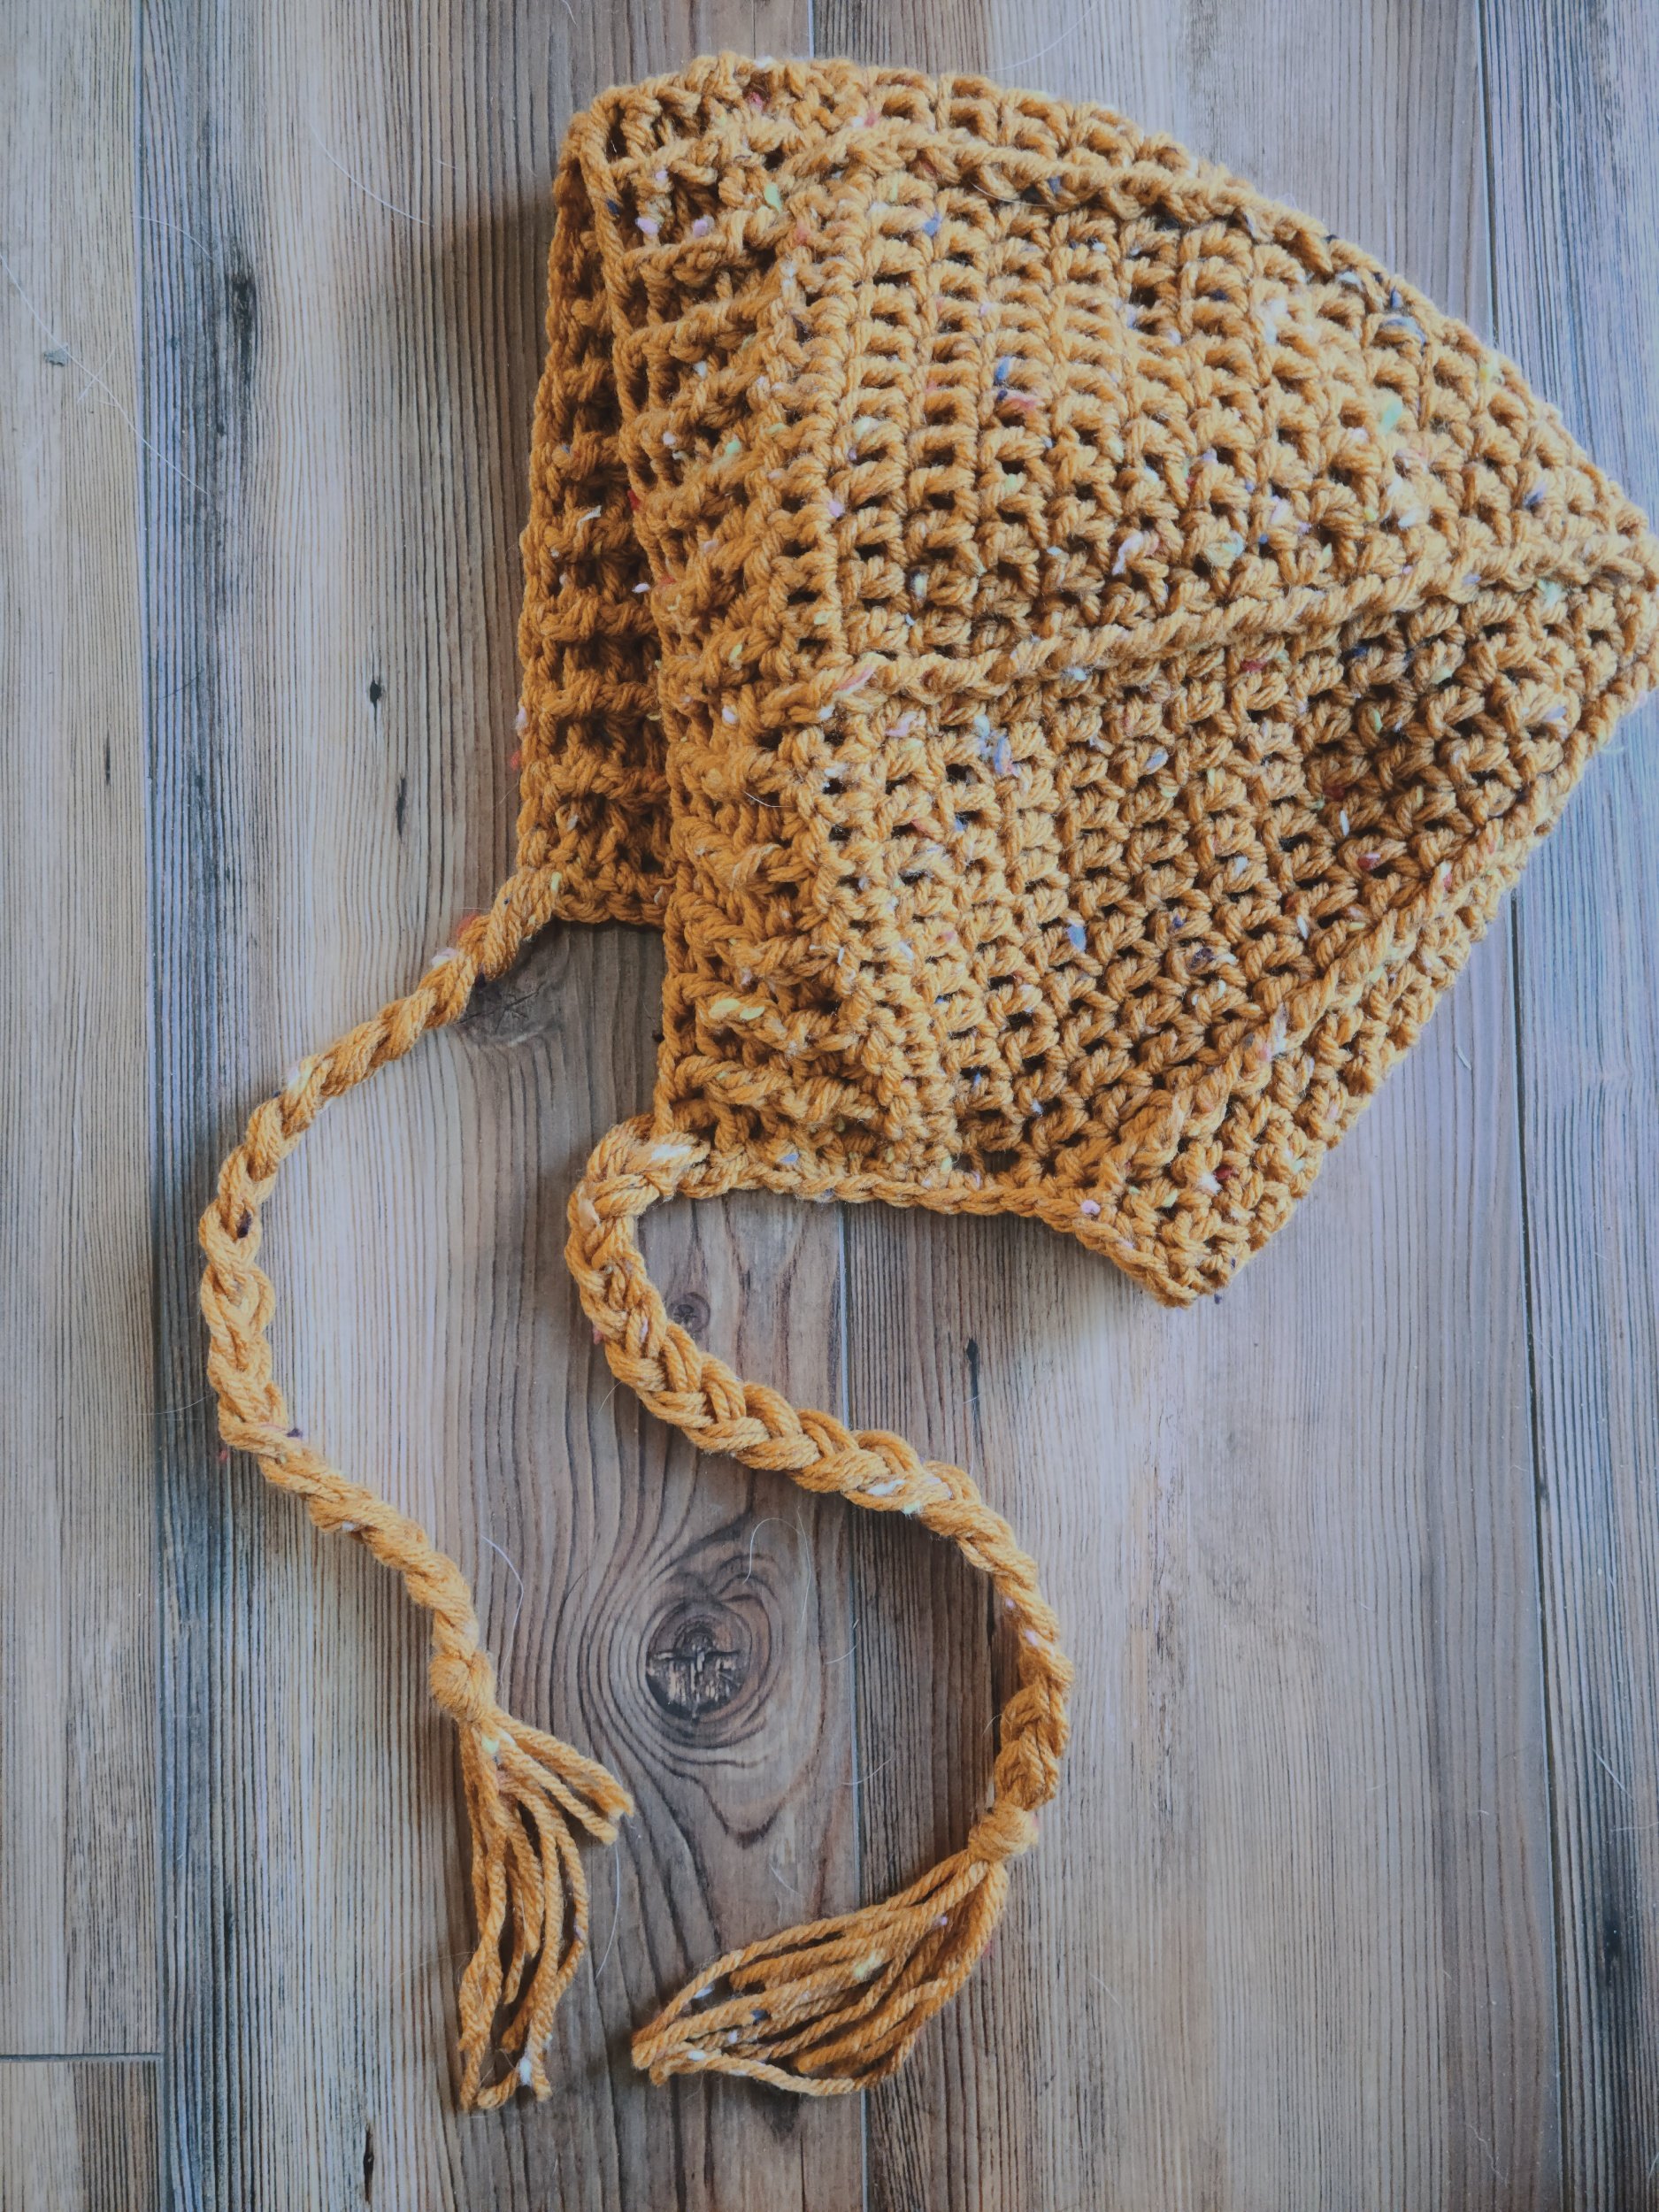
Free Pattern - Acorn Squash Beanie Bonnet
I designed this bonnet after watching too many period piece TV shows and wanting to dress just a little bit more like the characters. This adult bonnet is a dreamy piece with vintage charm and a modern twist.
This bonnet is worked in one piece with no seaming. You'll construct the piece from the back to the brim and finish off. After finishing the main part of the hat, you can choose to add braids or tassels to the front corners to complete the look.
Materials needed:
Worsted weight yarn
6mm Crochet Hook
Tapestry Needle for weaving ends
Instructions:
Begin with 10 dc into a magic ring, sl st to top of first dc
Round 2: Dc in first st, fpdc in next, dc in next, repeat around ending with a fpdc, sl st to top of first dc. (10)
Round 3 (increase round): Dc in first st, work a dc and fpdc in next, *dc in next, dc and fpdc in next*, repeat * around, sl st to top of first dc. (15)
Round 4 (increase round): Dc in first two st, work a dc and fpdc in next, *dc in next two st, dc and fpdc increase in next*, repeat * around, sl st to top of first dc. (20)
Round 5 (increase round): Dc in first three st, work a dc and fpdc in next, *dc in next three st, dc and fpdc increase in next*, repeat * around, sl st to top of first dc. (25)
Round 6 (increase round): Dc in first four st, work a dc and fpdc in next, *dc in next four st, dc and fpdc increase in next*, repeat * around, sl st to top of first dc. (30)
Round 7 (increase round): Dc in first five st, work a dc and fpdc in next, *dc in next five st, dc and fpdc increase in next*, repeat * around, sl st to top of first dc. (35)
Round 8 (increase round): Dc in first six st, work a dc and fpdc in next, *dc in next six st, dc and fpdc increase in next*, repeat * around, sl st to top of first dc. (40)
Round 9 (increase round): Dc in first seven st, work a dc and fpdc in next, *dc in next seven st, dc and fpdc increase in next*, repeat * around, sl st to top of first dc. (45)
Round 10 (increase round): Dc in first eight st, work a dc and fpdc in next, *dc in next eight st, dc and fpdc increase in next*, repeat * around, sl st to top of first dc. (50)
Round 11 (increase round): Dc in first nine st, work a dc and fpdc in next, *dc in next nine st, dc and fpdc increase in next*, repeat * around, sl st to top of first dc. (55)
Round 12 (increase round): Dc in first ten st, work a dc and fpdc in next, *dc in next ten st, dc and fpdc increase in next*, repeat * around, sl st to top of first dc. (60)
Round 13: Dc in each dc, fpdc around each fpdc. (60)
Round 14: Dc in each dc, fpdc around each fpdc. Back of hat complete, continue to form brim. (60)
Brim Instructions:
Row 1: Dc in first 11, fpdc, dc in next 11, fpdc, dc in next 11, fpdc, dc in next 11, ch 1 and turn (44 dc, 3 fpdc, 47 st total)
Row 2: Dc in each st across, ch 1 and turn (47)
Row 3: *Dc into 11 st, fptc into previous fpdc from two rows below and sk next st* repeat 2 more times. Dc into last 11 (47)
Row 4: Dc in first st, *bpdc in next, fpdc in next* across row, dc in last st.
Row 5: Repeat row 4, fpdc in fpdc st and bpdc in bpdc st to create a ribbed look
Row 6: Ch 1 but do not turn. Continue in same direction and sc across neck edge of hat until reaching the opposite side of the brim. Dc in first st of brim and then repeat the ribbing pattern of fpdc and bpdc one more time. Join to first sc of round.

